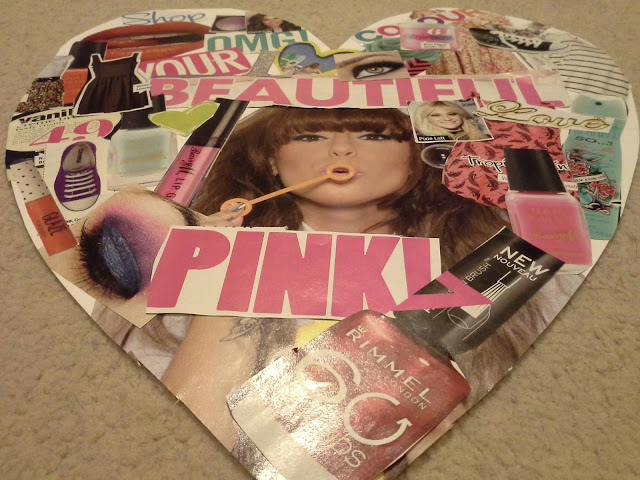
Okay, so as this is my first blog post I decided to do a nice, step by step, room DIY. The final design could be hung up almost anywhere, the options are endless, you could hang it in your lounge, bedroom, kitchen etc. However, I have chosen for this to be hung in my bedroom.
This is a very easy project so could be done by anyone, however I recommend if your under 6 you get a parent or guardian to help you because you are using scissors for most of this project.
 |
| Next draw the heart out with a pencil, and then go over it in a sharpie. |
Lets begin:
Step 1. First of all get a large piece of white card I used A3, and draw a heart with pencil and then just to be clear of the lines go over in a marker, in this case I used a sharpie. I used card because its stiffer, and doesn't 'flop' like paper, however you can use paper if you wish because its going to be hung on a wall.
 |
| Cut out the heart shape carefully. |
Step 2. Next carefully cut out the heart, try to be as neat as possible because this will determine the quality of the work, as I say get an adult to help you if your not to sure.
Step 3. Collect together as many magazines of your choice, with me, I had a load of fashion magazines, hence why my collage is mainly about fashion. Yours doesn't have to be about fashion, it can be as simple as patterns, to as complicated as mathematical shapes! You can also collect images off the internet.
Step 4. Time to be creative - select images that you like and start laying them down on your heart, IMPORTANT - Don't glue anything down yet until your happy with the layout.
 |
| Collect a load of magazines together. |
Step 5. Glue everything down. When you glue everything down, make sure you glue them down well, we don't want flaps and corners sticking up.
Step 6. If you have images overlapping the edge of your heart, don't worry just trim them down.
 |
| Lay your images out of the heart shape. |
- your done -
Useful tips:
● layer images on top of each-other this makes it look 100x better and it tends to make everything seem less 'gappy'
● You can use some of your favorite quotes, really make this your own.
● Last but not least, have fun while doing this project! - let yourself relax a little.
Here is some pictures of the final product from different angles ~ I hope you enjoyed this tutorial, there will be some more DIY's up soon, along with other things like fashion reviews, nail art etc..
bye ^.^


